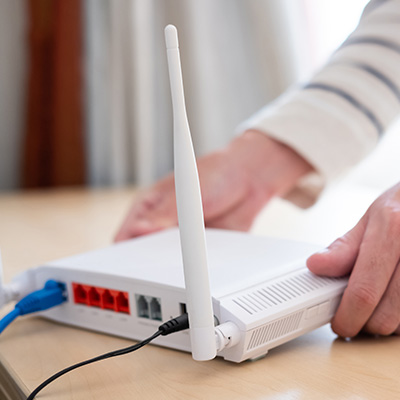
Setting up a Wi-Fi router might seem like a daunting task, especially if you’re not tech-savvy. But the truth is, with the right guidance, anyone can set up a Wi-Fi router and create a fast, secure, and reliable network for their home or office.
Here?s a straightforward guide to help you get your Wi-Fi router up and running.
1. Unpack and Check the Components
Before you start, ensure you have all the necessary components:
- The Wi-Fi router.
- Power adapter.
- Ethernet cables (usually provided with the router).
- User manual or setup guide.
Familiarize yourself with the router’s ports, buttons, and lights.
2. Choose the Right Location
The location of your router can significantly impact the quality of your Wi-Fi signal. Place it:
- In a central area for maximum coverage.
- Away from thick walls, metal objects, and electronic devices like microwaves or cordless phones that can interfere with the signal.
- At an elevated position, like a shelf or wall mount, for better signal distribution.
3. Connect Your Router to the Modem
To access the internet, your router needs to be connected to a modem. Here?s how:
- Plug one end of an Ethernet cable into the modem?s output port.
- Plug the other end into the router?s WAN or Internet port (usually marked in a different color or labeled).
Ensure both devices are powered on.
4. Power Up the Router
Connect the router?s power adapter to an electrical outlet and turn it on. Wait for the router?s power and internet lights to stabilize, indicating that the device is ready for configuration.
5. Connect to the Router
You can connect to your router using:
- A computer or laptop: Use another Ethernet cable to connect your device to one of the router?s LAN ports.
- A smartphone or tablet: Look for the default Wi-Fi network name (SSID) and password on the router?s label, usually located on the back or bottom. Use these credentials to connect wirelessly.
6. Access the Router?s Settings
Open a web browser and enter the router?s IP address in the address bar. Common IP addresses are:
192.168.1.1192.168.0.1
You can find the specific IP address in the router?s user manual or on a sticker on the device. Once prompted, log in with the default username and password (also listed in the manual or on the device).
7. Configure the Router
Once logged in, it?s time to customize your router?s settings. Focus on the following areas:
A. Change the Admin Password
For security, update the default admin password to a strong, unique one.
B. Set Up the Wi-Fi Network
- Rename the Wi-Fi network (SSID) to something recognizable but not revealing personal information.
- Set a strong password (use a mix of letters, numbers, and symbols) for the Wi-Fi network.
C. Choose the Right Security Settings
Select WPA3 or WPA2 (if WPA3 isn?t available) for the most secure encryption.
D. Configure the Network Band
- Dual-band routers support 2.4 GHz and 5 GHz frequencies.
- 2.4 GHz offers a longer range but slower speeds, while 5 GHz provides faster speeds over shorter distances.
- You can name each band differently for easy identification.
8. Save and Restart
After configuring the settings, save the changes and restart the router. This ensures that all new configurations are applied.
9. Test the Connection
Once the router is restarted:
- Connect your devices to the new Wi-Fi network using the updated SSID and password.
- Test the connection by browsing websites, streaming videos, or running an internet speed test.
10. Additional Tips
- Update the firmware: Check the router?s settings for firmware updates. Regular updates improve performance and security.
- Enable guest networks: If you have visitors, set up a separate network for them to keep your primary network secure.
- Monitor devices: Many routers allow you to see connected devices and limit bandwidth or block unauthorized devices.
Conclusion
Setting up a Wi-Fi router is easier than you might think, especially when you follow a clear step-by-step process. With your router properly configured, you?ll enjoy a seamless internet experience, secure connections, and the ability to manage your network efficiently.
Remember, investing a little time in setup now will save you from headaches later. Happy surfing!

Comments are closed